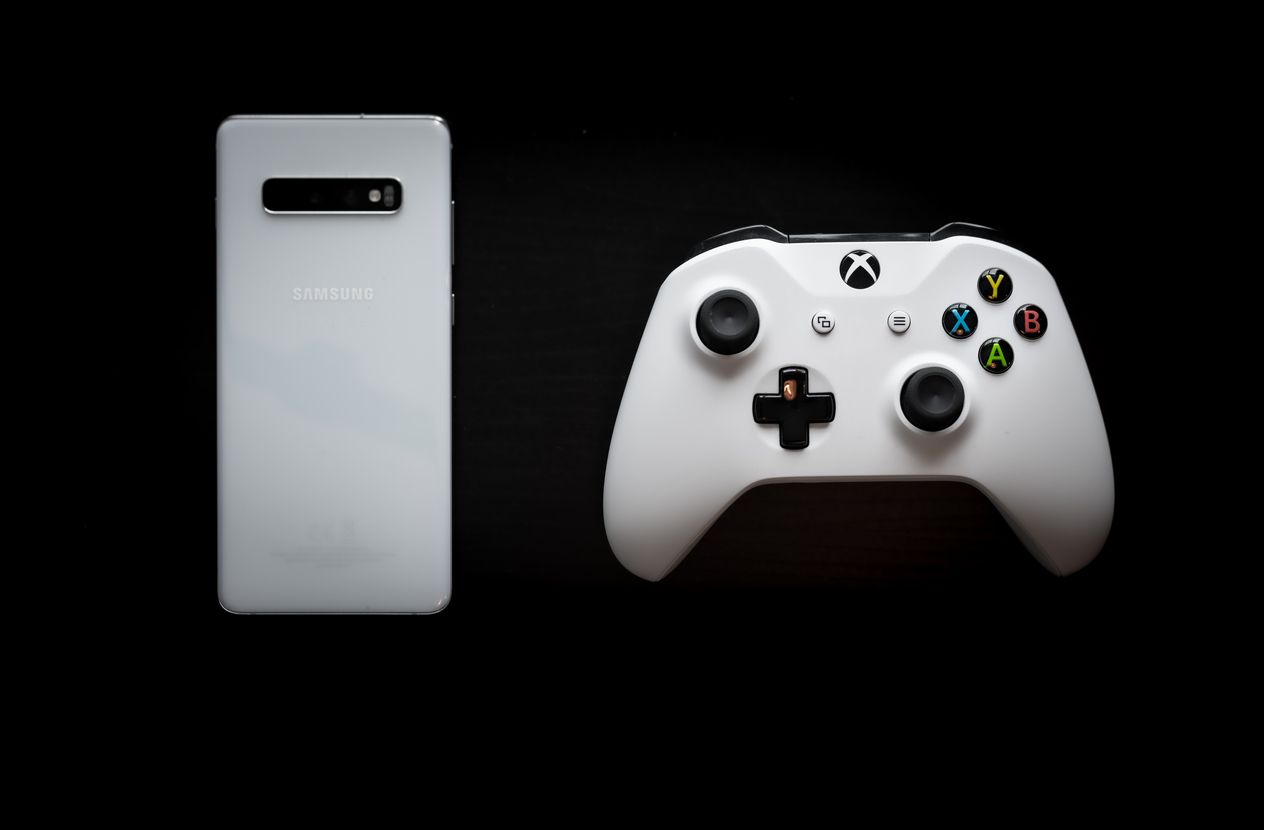
How to make a bong out of an Xbox One controller

Gaming and weed go together like ice cream and chocolate, which is why it really shouldn’t be any surprise that so many cannabis enthusiasts have started combining the two through functional weed art. One of the hottest homemade bongs to hit the spotlight this year was the Xbox One controller bong, so we had to sit down to see just how well it worked for ourselves.
As a result, we’re able to include an incredibly detailed step by step guide on how to make a bong out of an Xbox One controller, which we hope will help to make the process easy for anyone else who might want one too. The only problem is that it will take a few specific tools to get started, so be sure to write out a shopping list of must-have items before getting started.
Steps to converting an Xbox One controller into a bong
This project is a really neat gift idea, but since it is a bit of a lengthy process, we highly recommend that you start with just one and slowly work your way up, so if you have an old favorite controller that you really want to turn into a bong, then it might be a good idea to do a practice run on a less sentimental piece first. Luckily, old broken Xbox One controllers can be found just about anywhere for around $5 or less, so it won’t be a very expensive learning experience.
You will need:
- Glue gun
- Glue sticks (any color that you like)
- Xbox One controller
- Flathead screwdriver
- Dremel
- Socket
- Rubber hose
- 2-inch section of radio antenna (or any other thin metal tube of similar size)
- Size 8 Torx screwdriver
- Duct tape
Instructions
-
To start, you will need to have an Xbox controller and the screw and flat head screwdriver ready, Therefore, firstly remove the casing that houses the batteries.
-
Once the batteries are out, it will expose a sticker that you will need to peel off.
-
After the sticker has been removed, you will see one single screw right in the middle, and this is an excellent place to start with the screwdriver. Remove the screw and then use the flat head screwdriver to wedge into the seam along the outer edge of the Xbox controller.
-
Use the screwdriver to gently pull apart the edges, slowly working your way around the seam as it opens, until the gap is large enough that you can easily pull off the back of the controller away from the front portion.
-
It will take a bit of work, but when you finally have that backing removed, it will reveal four more screws that will also need to be taken out.
-
Removing the final four screws will loosen the middle portion of the controller so that it can be uninstalled. This piece includes all of the buttons and the joysticks, which won’t be needed, so you don’t have to feel bad if you break them during this process.
-
Now you have one more screw to remove, and it’s placed in the middle between the triggers on the Xbox controller. This piece will loosen the triggers so that they too can be removed.
-
At this point, you should have a light and completely empty Xbox One controller casing. Since you are going to be smoking out of it, it’s a good idea to give this thing a wash before proceeding.
-
Now it’s time to heat up the hot glue gun in preparation for hole filling. As you’ve probably noticed, the Xbox controller isn’t exactly airtight, and since we need it to be, every tiny space will need to be filled with some hot glue.
-
While you wait for the hot glue gun to warm up, you should have enough time to use a Dremel to shorten the small pieces of plastic where you’ve removed the four inner screws. You can completely grind them down if you wish, but a few millimeters are often all it takes. These pieces were initially to hold the contents of the controller, which are no longer present, and if you leave them as is after filling them with glue, it is often just enough to keep the casing pieces from closing back together, so it’s best to take them down a bit.
Now it’s time for the fun part, filling holes with hot glue while trying your best not to get burned. Since there are far too many holes to list and describe them all, what we will say instead is that you need to fill every single one including the trigger, with the exception of two. The right joystick opening and the upper left circular hole, which needs to stay empty, and we will explain better why shortly. For now, you need to layer up the hot glue until the holes are all filled so that the pieces can be airtight once they are placed back together.
The small metal piece of an antenna can now be pressed into the end of the socket in preparation for installation. Use a thick bead of hot glue to seal up any openings around the tube and to secure it into place. This piece is going to act as the down stem of our homemade bong.
Set the end of the socket with the antenna attached into the left hole on the face of the Xbox controller, and use hot glue to ensure that it stays in place. Without the glue, it will just fall through the hole, and it definitely won’t be airtight.
Once the hot glue from your last installation hardens and cools, you can do the same thing with the rubber hose. Use the hot glue gun to build up the outer edges of the second open hole. Once the opening is small enough to snugly fit the tube, press it through approximately one inch before sealing it all up as best as you can with the hot glue.
Now that all of the pieces are hot glued into place, you can start to put the bong together. Just grab the two sections and press them together as hard as you can until there is no more opening around the seam.
The very last step is to seal up the Xbox one controller casing as it still isn’t quite airtight yet and won’t be until you’ve put a thin bead of hot glue all along the seams.
Test the draw on the device by inhaling deeply from the rubber hose, and if there are any air leaks, then you can blow instead to spot them. Make sure this check is done before you move on to the final step.
Now you will need the hot glue gun one final time to install a carb into the biggest lower hole that is filled with glue. You can then use that hole to fill the device with water while holding it with the bottoms facing upwards.
How to use the Xbox One controller bong
-
Make sure to set the controller with its backing facing downward so that the bowl and mouthpieces are pointing up and easily accessible.
-
Pack the bowl which right now is the very end of the socket that you’ve installed earlier.
-
Place your lips around the rubber tubing and inhale while lighting the cannabis that is in the bowl.
Though it might take one or two tries, there is nothing more fun than personalizing your very own Xbox controller bong using your personality and imagination to change things up each time.


