How to Roll a Joint Perfectly Using A Joint Roller
Joint rolling might seem like a relatively easy task unless you are one of the many that struggle to get it down. Some consumers deal with health and physical limitations that make joint-rolling impossible, and others just can’t roll something that is enjoyable to smoke, which leaves them discouraged. While bongs and pipes are a suitable option in many cases, a joint roller allows you to enjoy a milder toke with the least amount of effort possible.
The precise features of a joint roller can vary as technology advances, so do the neat devices on the market, but for a simple electricity-free option that is perfect to take with you anywhere, a good old fashioned manual joint roller will get the job done. Here you will find everything you need to know about how to roll a joint perfectly with a roller.
How many papers does it take to roll a joint?
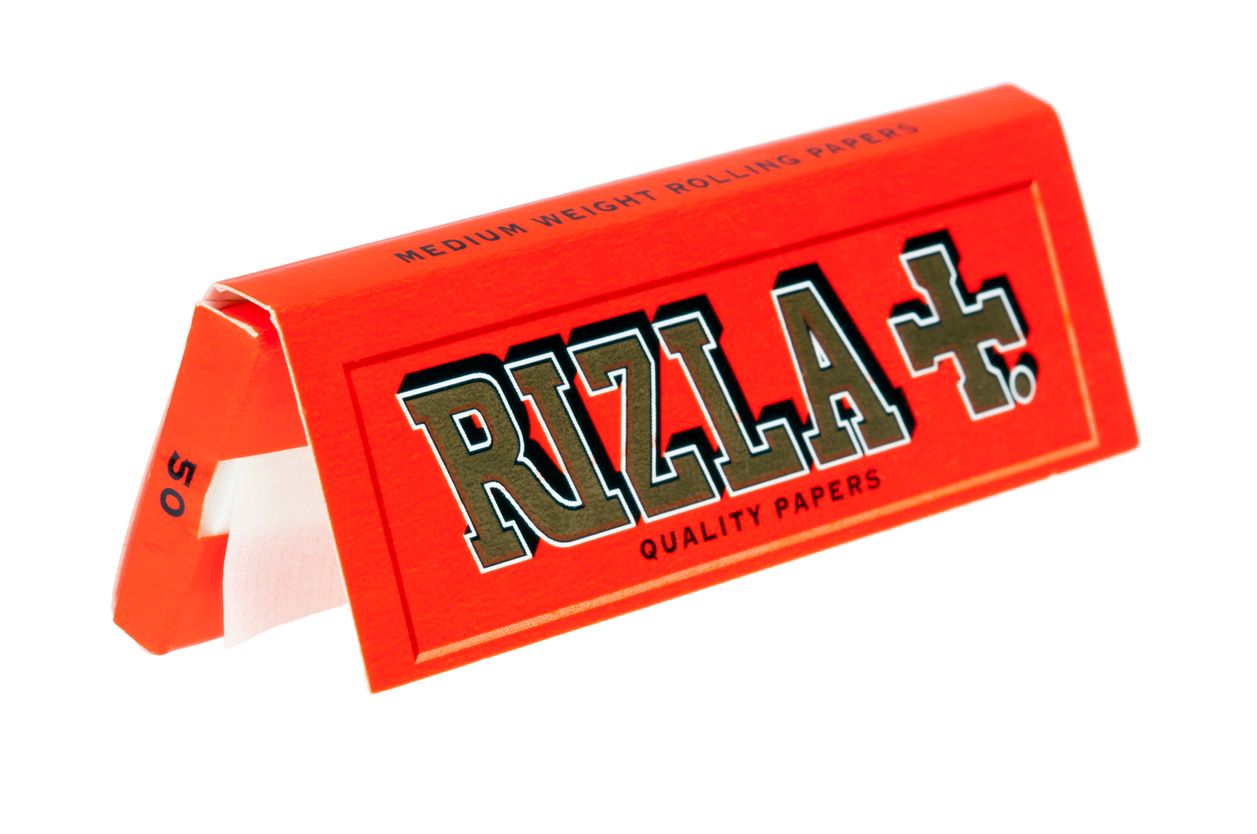
Most manual joint rollers only accept one paper at a time, as the inside is shaped and sized to fill for one roll, and without a standard, there would be a lot more guessing required to make it work. However, if you are a hardcore toker and seek a larger option, some companies like RAW offer joint rollers that are compatible with nearly any size that you can think of measuring up to one foot long.
Types of joints you can make with a joint roller
Despite the limitations that a joint roller adds to the task, there are a couple of different types of joints that you can create with a manual roller. However, the only way that you can really alter these joints is by switching up the kinds of flavors and what is inside. RAW is one of those companies that provide a whole line of all-natural rolling papers, including both tasteless and flavored versions.
How do you start a joint?
Before you begin to pack and use a joint roller, there are a couple of things that you should do, all of which will significantly enhance the experience by ensuring that the joint rolls and smokes smoothly.
1. Visually assess your cannabis for moisture
Cannabis flowers burn differently in a joint than they do in a bong or a pipe, so a product burning well in glass doesn’t necessarily make it a great candidate for a joint roller machine. Buds should be crisp to the touch, and when small branches are bent, they should snap off with little to no effort at all. If the stems bend or the bud feels damp when you press it between your fingers, then it probably isn’t going to provide a smooth or consistent burn.
2. Prepare by ensuring all tools are within reach
Once you start going through the steps on how to use a joint roller, walking away can often mean unnecessary adjustments, or forgetting where you were in the process, which can make it harder. Instead, you should ensure that everything is within reach, including a rolling tray to catch the falling herb grind, scissors, cardstock, and a grinder.
3. Clean the machine before you begin
If you have a joint roller that has been out of its package for a while, even if it hasn’t been used, it’s probably got fuzz, dust, and other potential contaminants that could interfere with the smoothness of the taste and how the machine works. Since the entire thing is under pressure, one small piece out of place can be enough to jam up the machine, so it is essential to keep it clean and to do so before every single use.
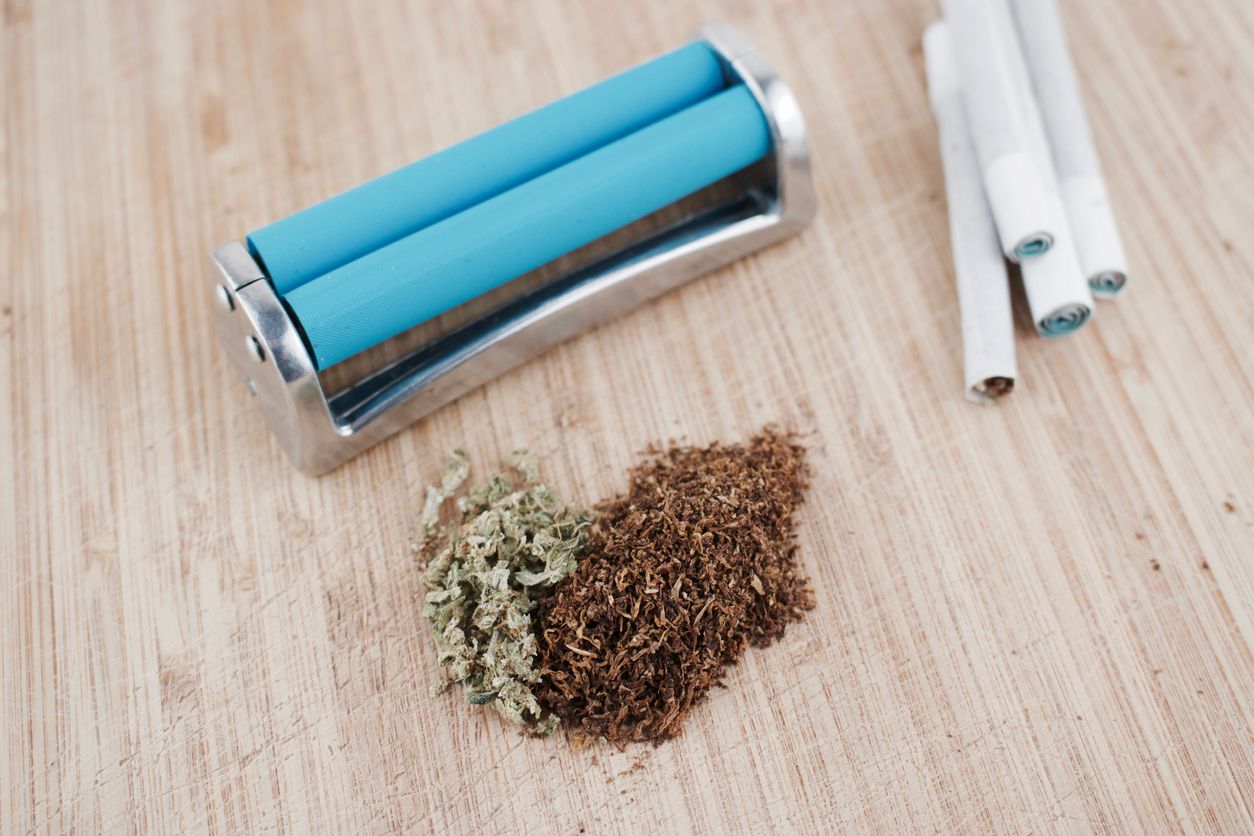
How do you use a joint roller?
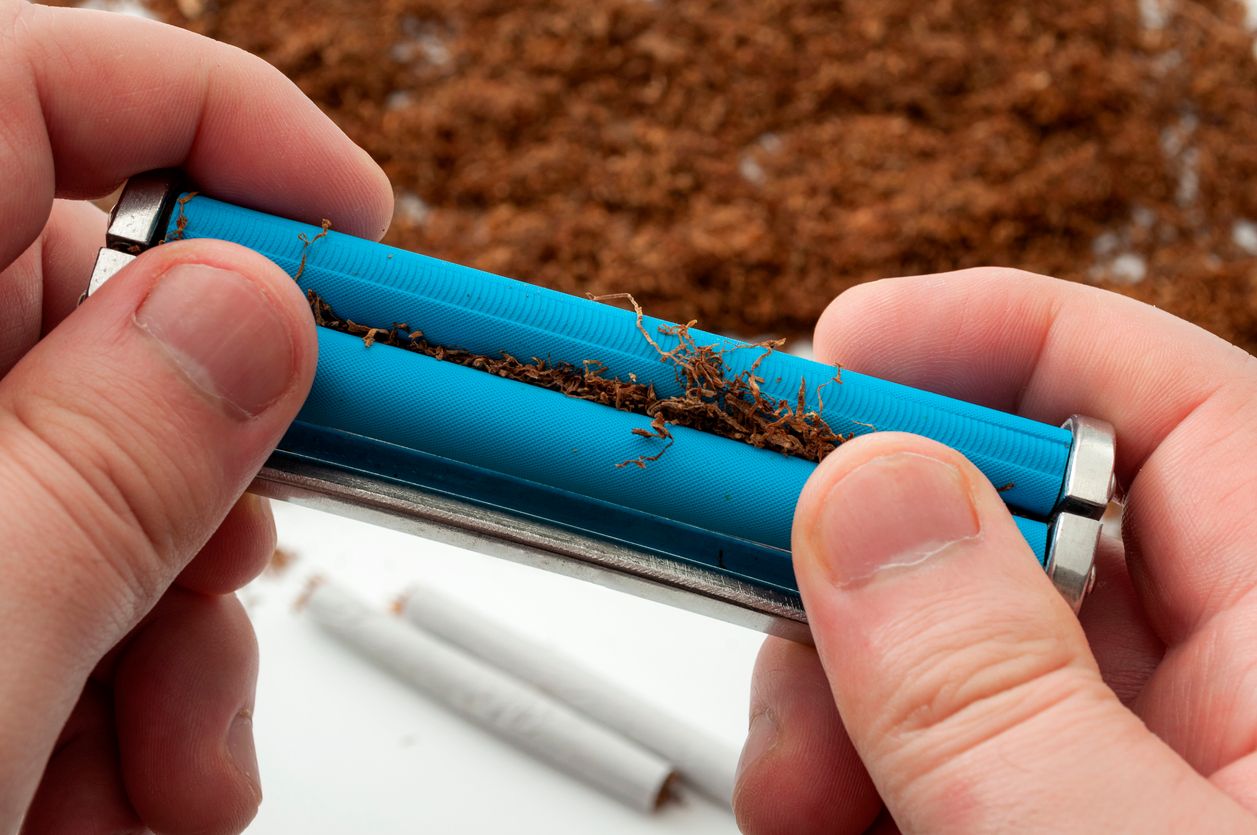
There are several designs of a joint roller on the market today, but most manual versions work in the same way. Some are just slightly harder to roll with, especially if they’re new and slightly stiff from moisture exposure, which is possible fresh out of the box.
You will need:
- Joint roller
- Rolling paper (compatible with roller)
- Cannabis
- Grinder
- Rolling tray (optional)
- Cardstock
- Scissors
Instructions

-
Prepare to roll a joint as we mentioned above. Ensure that all tools are well within reach and that your buds are dry enough to burn well.
-
Pack the cannabis into a grinder and bust it into pieces.
-
Empty the weed grinder into the tray beside the rolling machine so that you can remove any stems or seeds from the mixture that might rip or tear the paper as it is rolled.
-
Spin the outer handles of the joint roller until the bottom of the chamber is exposed and hold it into place with one hand.
-
With the other hand, sprinkle the bud grinds evenly along with the chamber until it looks full.
-
Now at this point, you will need to pack in the herb grind because while the roller may look full, the cannabis is only loosely placed. Use a finger to gently pack the grind into the joint roller until it’s firm and be sure to leave a space for a filter while you do this.
-
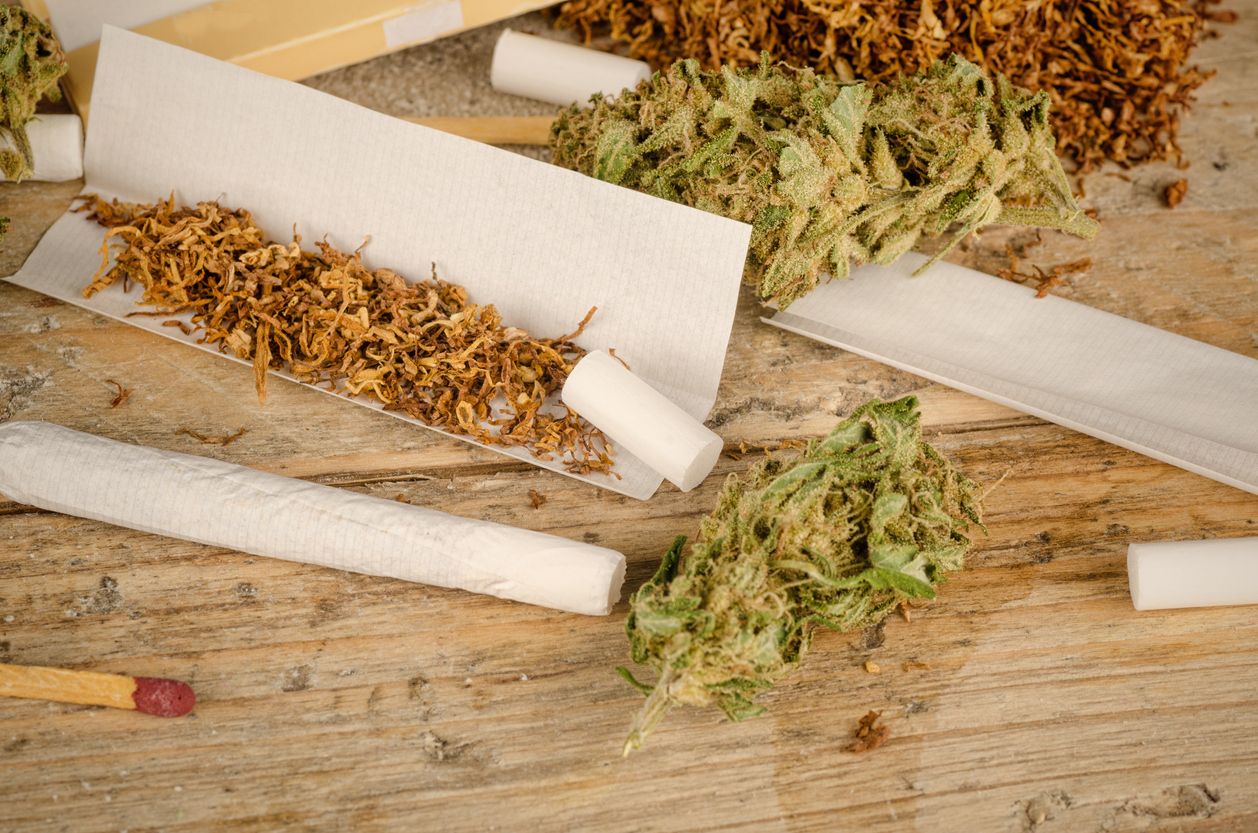
Once you are satisfied with the packing of your cannabis, it is time to prepare the filter. To do this, cut a cardstock in half then fold it an accordion-style back and forth 3-4 times until you see the shape of the letter ‘m’. Now fold it back around and wrap the folds tightly, rolling it up until there is no remaining tail.
-
Place the joint filter into the rolling machine and spin it around so that the opening is pressed against the bottom, which will help to hold it into place.
-
Now look at the directional arrows on the joint roller and use those as a guide. Slide them back and forth gently to completely pack the roller.
-
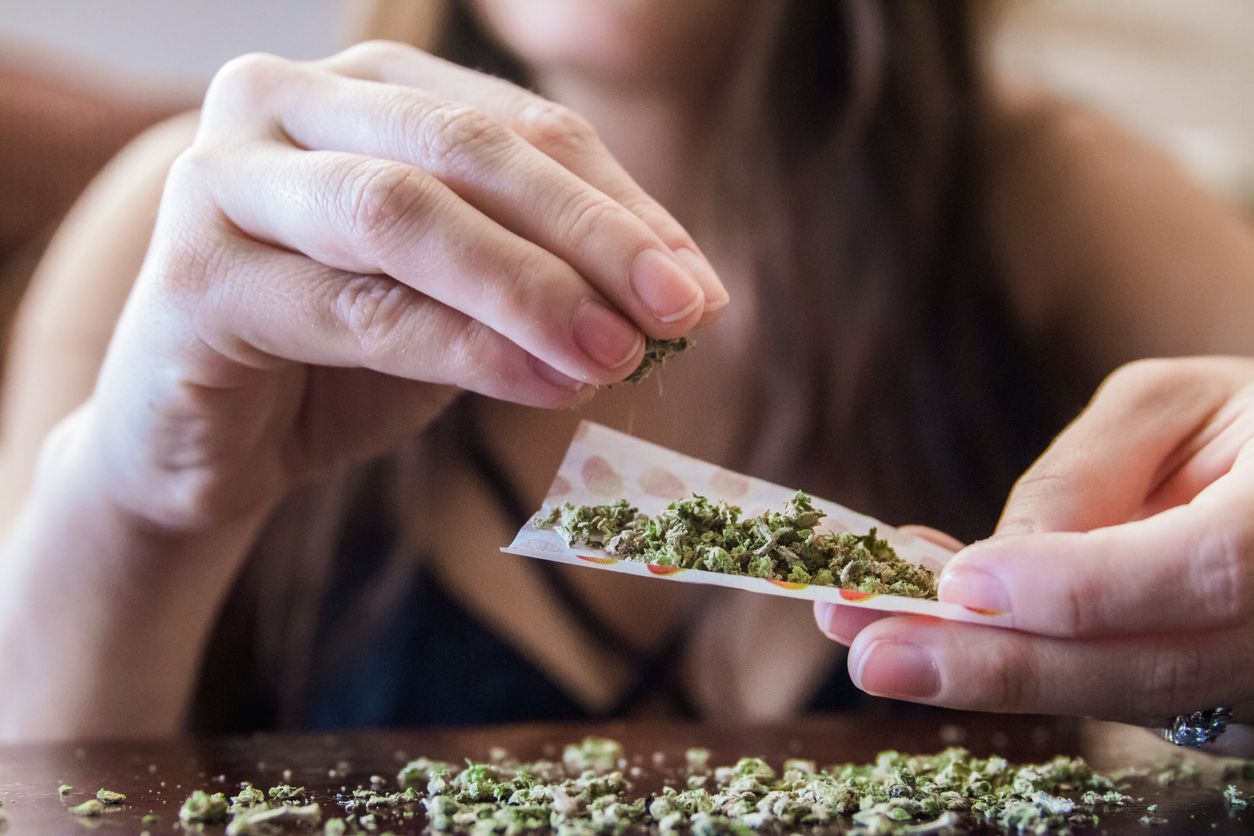
When you are ready, pull one paper from the pack and flatten it between your fingertips.
-
Feed the paper into the joint roller with the glued end facing towards you until it catches, then roll both handles inwards until all that is left exposed is the glue strip.
-
Apply a small amount of moisture to the strip then finish the roll by twisting the turning bars inwards until the joint is released. Your joint is now ready to be smoked, requires no drying time, and as long as you followed the instructions, it should burn slowly and evenly the whole way through.