How to Dry, Cure and Store Weed Like A Pro
Growing healthy, robust plants is something to be proud of, but unless you know how to dry and cure weed, and how to store it properly, it could all be for nothing in the end. Each part of the process is just as important as the one before it, and to get the most from your crop, you will need to know how it all works. Once you have a crop that is ready to harvest, this information will help you to preserve your cannabis buds, and to improve on the way that they burn, smell, taste, and the effects that come from using them.
What does drying mean?
Drying cannabis is a relatively simple process that all buds and leaves must go through to be useful for consumers. There are a variety of different methods for drying weed, but they will all accomplish the same goal in the end, which is to remove just the right amount of water content from the plant materials. Some mistakes drying for curing, and while technically they can both happen at the same time, they are two entirely different things.
What does curing mean?
Curing weed is a way to both preserve and enhances the quality of cannabis, and it begins from the very first moment that you harvest your plants. Once the bud flowers are picked, they begin to age, slowly converting some of the elements inside like cannabinoids into their activated forms. Curing is typically performed separately from drying, as it’s a method of natural aging that allows for a higher activation rate, which ultimately provides a higher quality bud.
Curing removes much of the things that most consumers would like to avoid, by breaking down the elements that cause them. One example of this is the harshness, an unfortunate side effect of too much chlorophyll. Drying cannabis buds basically kills the chlorophyll resulting in a smoother hit that doesn’t scratch the throat or make you cough.
Curing also helps to preserve valuable terpenes that can greatly impact the overall flavor and smell of your buds. It does so with a slow and careful precision that helps to maintain the integrity of the plant structure, which goes all the way down to some of the smallest components that we can’t see by eye. Cured weed will often have less of the fresh-cut grass smell and a broader terpene profile, and that makes it taste so much better.
Difference between drying and curing
Some growers widely debate whether or not these are really two separate things, which is understandable until you look at the facts. Drying weed triggers only a minor chemical reaction within the plant materials, whereas curing ages the buds right after they have dried partway, and it can help to provide you with the highest quality and often most potent buds possible. Curing also helps to maintain an ideal level of moisture, so that the cannabis can continue to age in a way that activates all the components inside.
So technically, they are both part of the same time period, but drying is meant to remove the excess moisture immediately after harvest, whereas curing weed induces an intense chemical reaction while preserving the perfect amount of water to keep your buds bouncy looking and fresh throughout long term storage. It ensures that your buds will still look brand new even months later and that they taste and smoke better once you need them.
How to dry and cure weed
Since we want to elaborate on just how much drying and curing are different from one another, below you will find both separated into easy to read steps, including some tips and tricks on how to make the transition.
Drying
You will need:
- Scissors
- Drying rack
Instructions
-
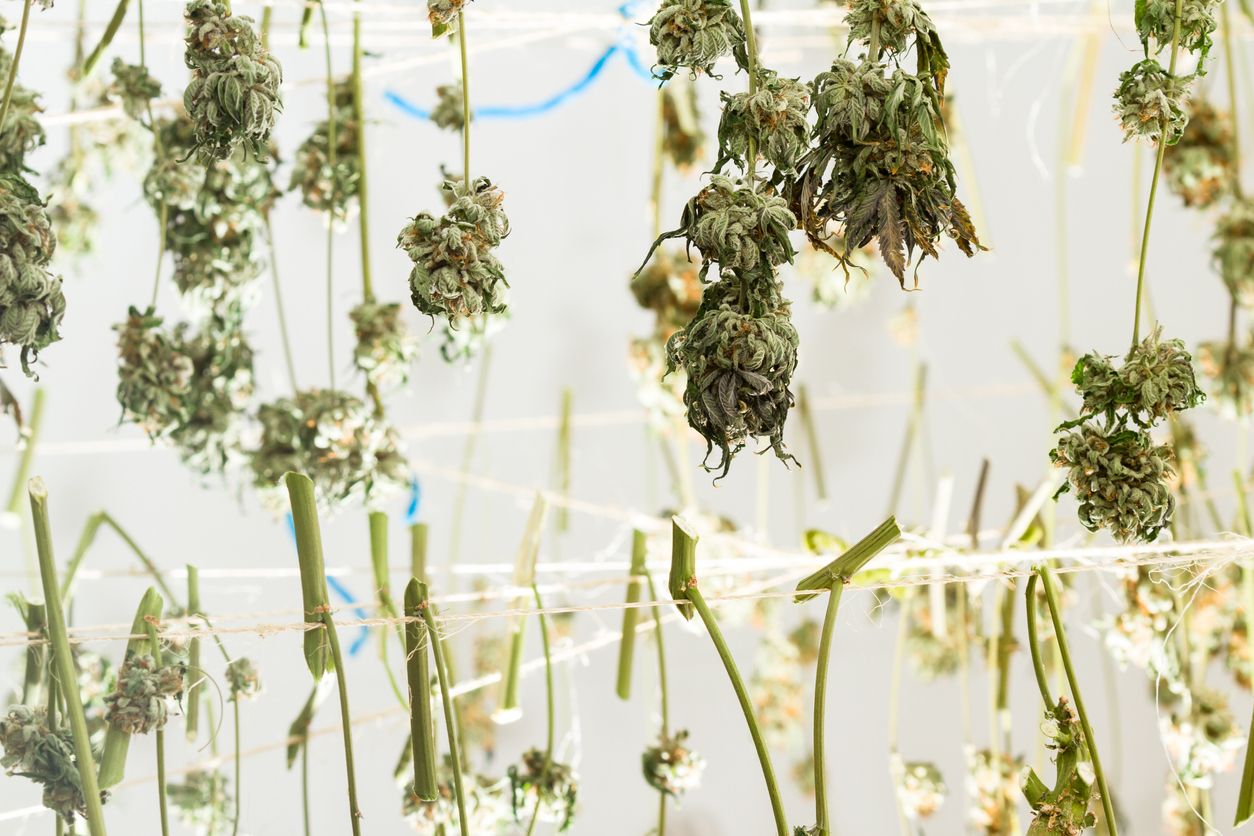
Harvest your cannabis plants in a way that makes drying easy for you. Some people use a rack which can hold up several whole plants by the branches, and others prefer a more compact bag that requires all excess stem to be trimmed away from the buds.

Take a sharp sanitized pair of scissors and trim away all the larger fan leaves, followed by the smaller protruding sugar leaves. Keep going until your buds are a nice uniform shape.
Now, toss your flowers into a paper bag or onto a drying rack and watch the magic happen over the course of 2 or 3 weeks. Sometimes it’s a good idea to rotate buds and hang plants during the drying process to avoid wet spots, especially if there isn’t a lot for air circulation.
Tips on how to tell when weed is dry and ready to cure
Since the time that it takes to dry cannabis will depend on several factors, including size, density, and environment, it really helps to know what to look for before you start curing. Otherwise, you could risk mold and bacteria growth which can take hold quickly once your buds are stored away in sweating jars.
- Stems snap off with a crunch rather than bending
- Moisture content is lower than 70%
- Buds feel springy and dry to the touch
- No wet spots
Curing
You will need:
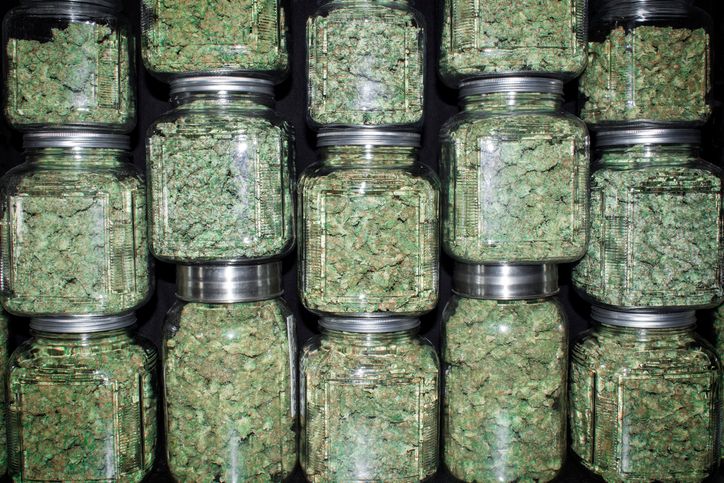
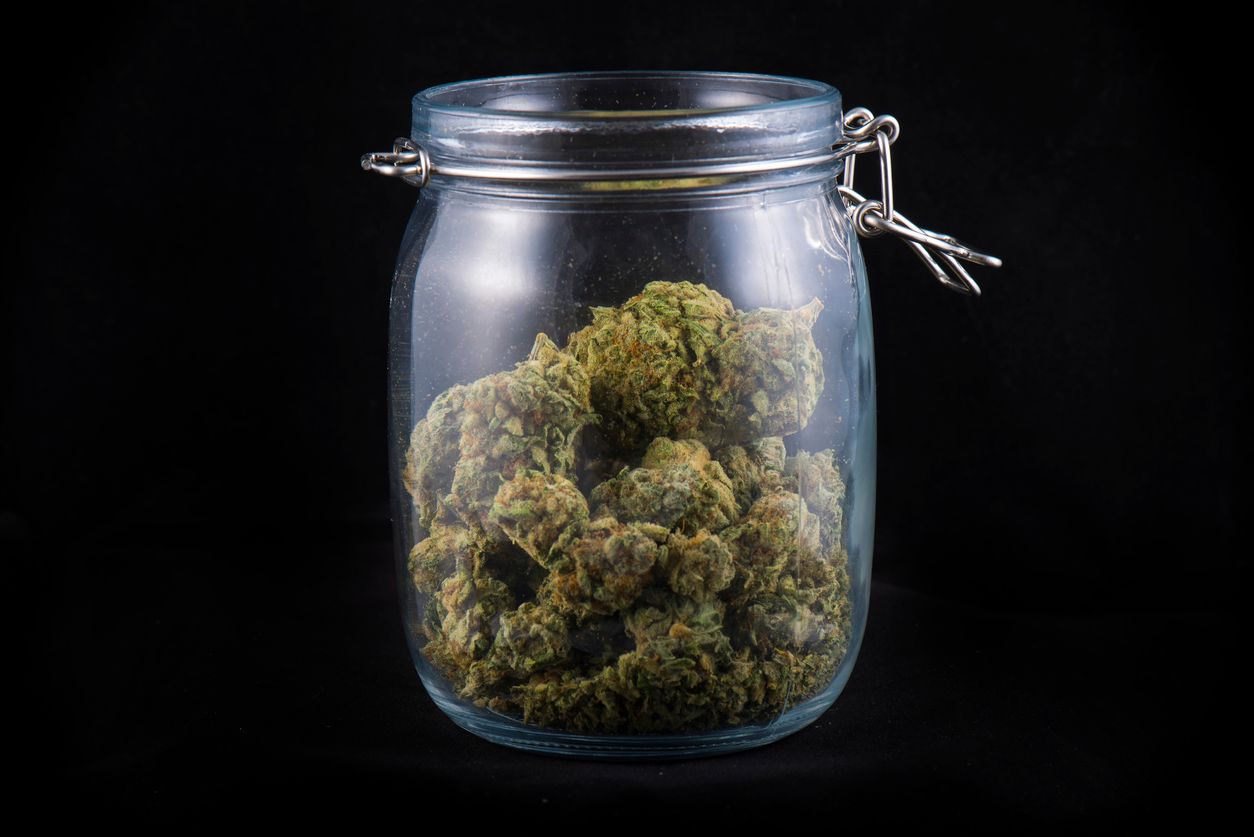
- 32oz mason jars with lids (one per ounce of weed)
- Cannabis
- Moisture packs
- Hygrometer (stick-on)
-
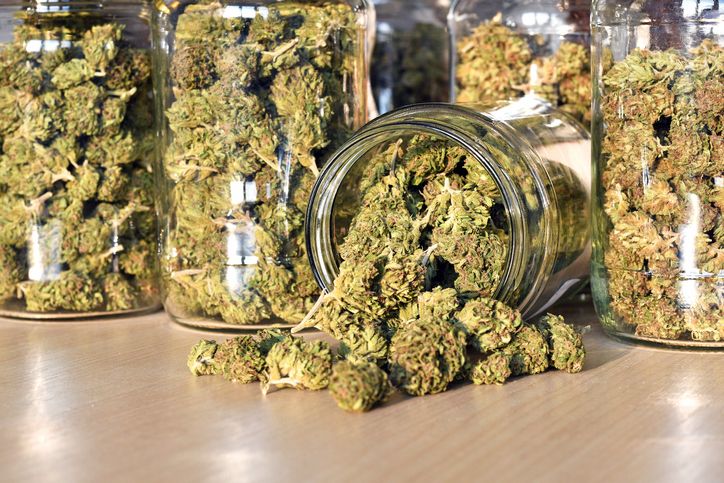
Once your weed is dry, it is time to remove all excess stems before tossing the buds into glass mason jars.
-
Fill the jars approximately ¾ of the way and add a hygrometer to the mix before sealing the lids uptight. Do not add moisture packs until they’re needed which won’t be until much later.
-
Over the first week of curing, you will need to check on your jars a minimum of once per day, taking note of moisture levels as you go. If the hygrometer ever shows above 70%, then you will need to empty out the jars and let the cannabis air dry a bit before trying again. During this time, keep an eye out for mold development, and if the moisture levels begin to drop too quickly, then add a moisture pack to regenerate the flowers.
-
The next few weeks will be similar, only by that point, you won’t have to babysit your stash so closely. The ideal moisture range for curing is between 55% and 60%, so do your best to stay within that with the assistance of the moisture packs.
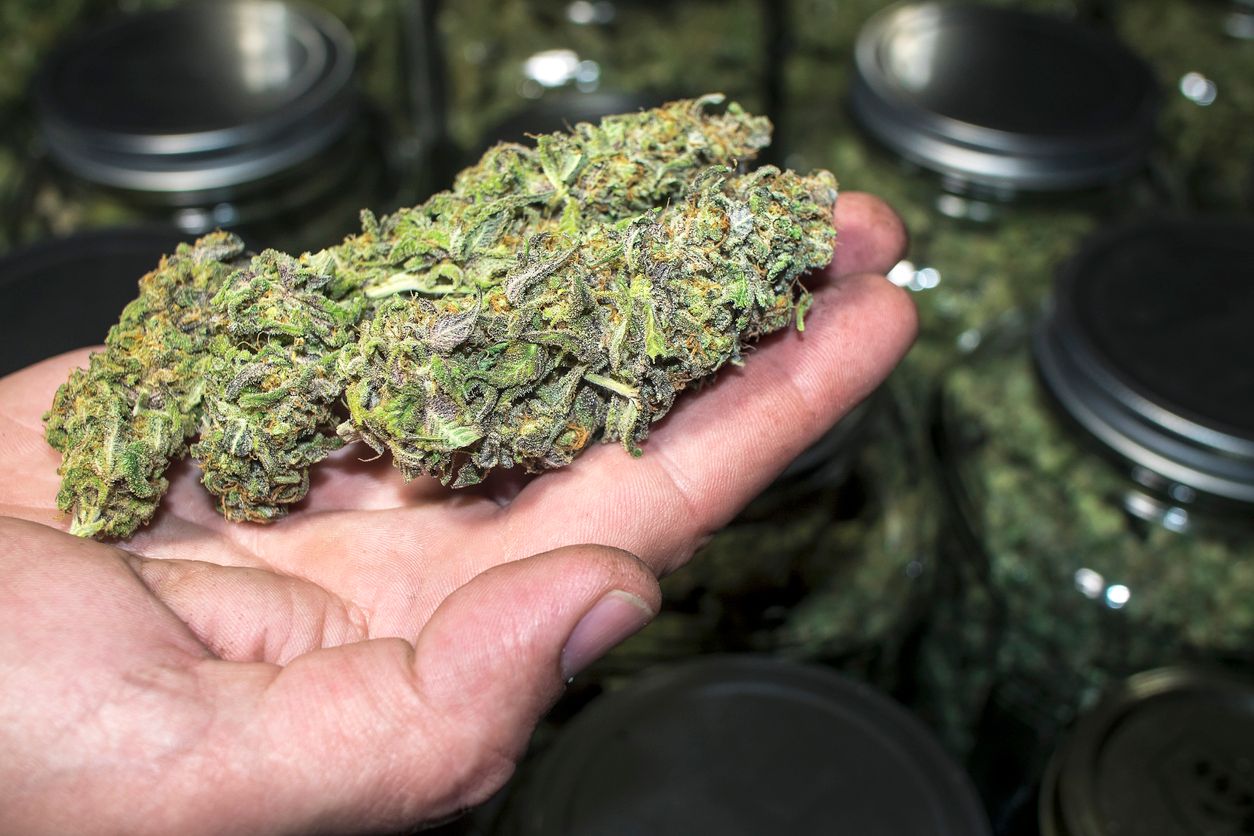
For some, 3 weeks is plenty enough to provide the results that they want, but for others, drying and curing weed can continue for more than 6 months. The choice is entirely yours, but once you are satisfied with the look, smell, moisture content, and taste of your buds, it’s time to move onto storage solutions.
Proper storage
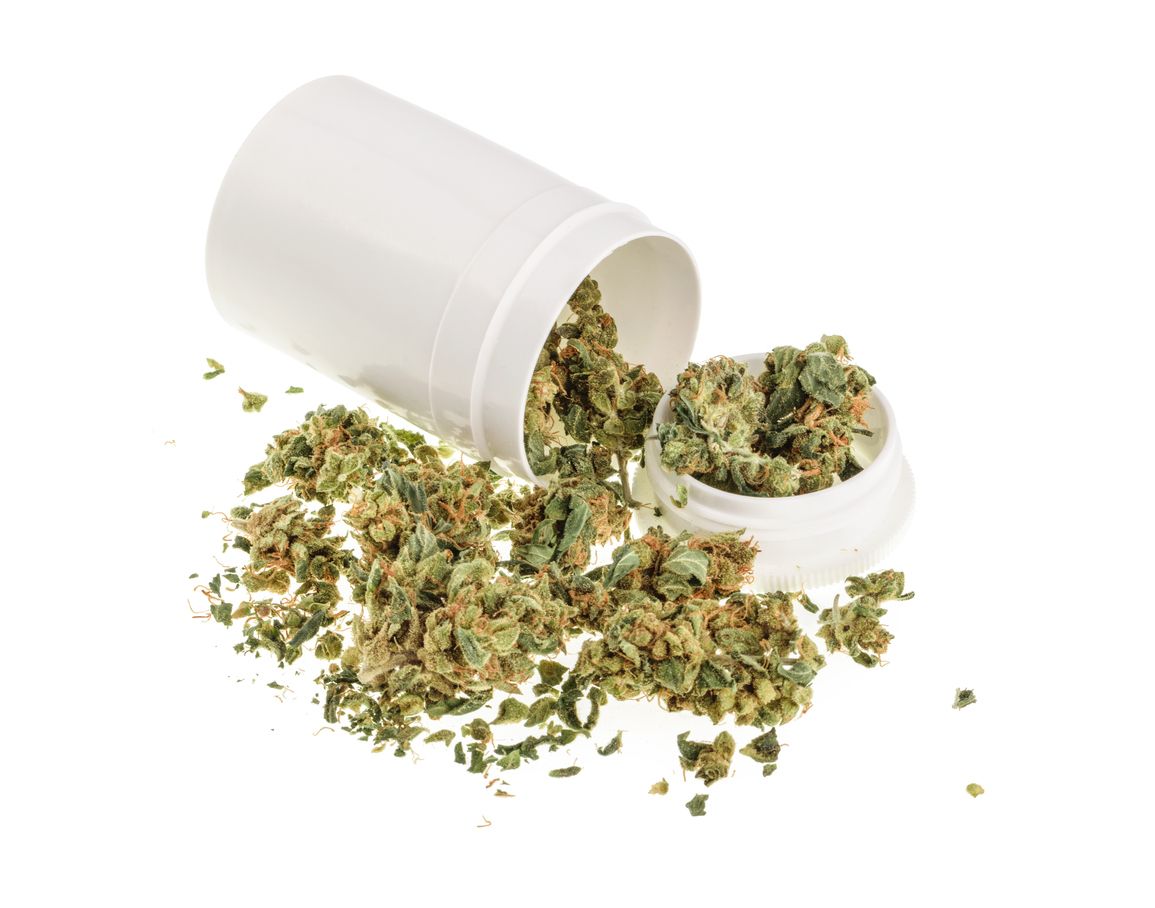
The best cannabis storage containers can be made using a wide range of different materials, but the most preferred is glass as it does not hold onto or transfer smell or taste, and it holds in the water quite well, but glass jars aren’t always the ideal choice. Here are a few things that you should look for in a storage container:
- Protection from sun
- Durability
- Container should be ¾ of the way filled with cannabis (or more) to prevent damage
- Smell resistant
- Non-toxic
- Airtight seal