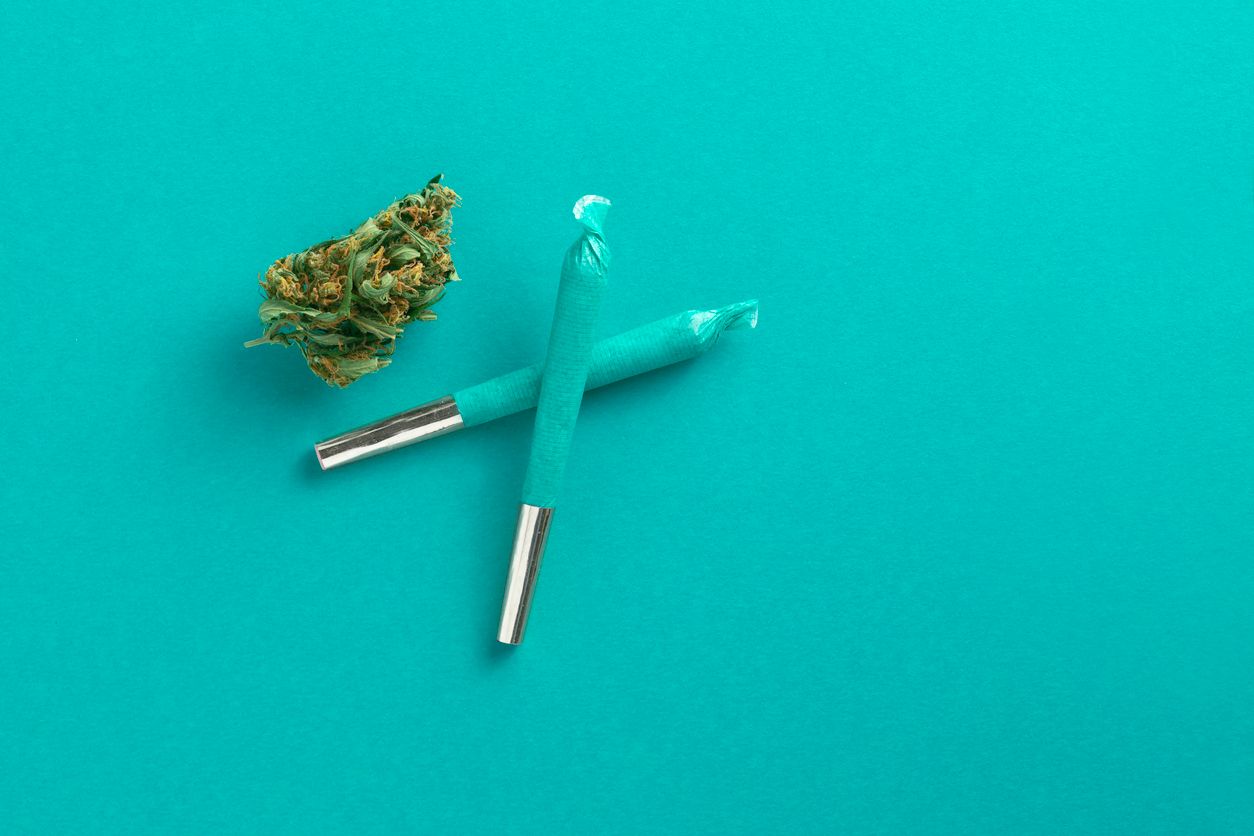
Tutorial: Juicy Jays Hemp Wraps

Juicy Jays wraps are one of the most popular options on the market today. They’re tasty, simple, free of harsh chemicals and made by a trusted brand, but they aren’t always so easy to figure out, especially for beginners. Here we’ll take you through the steps of how to use hemp wraps so that hopefully, you’re toking sooner rather than later.
Step 1 – Pick a flavour
If you’ve already bought Juicy hemp wraps, then this step doesn’t apply to you, but you might be surprised to learn how important it really is to pick a flavor you love. When you aren’t sure, or if you’ve never tried one before, it’s best to start with flavorless options to give you a better idea of what to expect without an overpowering aftertaste. Once you’ve settled on a good one, it’s time to move on to step 2.
Step 2 – Open the package
Now that you’re ready to roll this baby, it’s time to look at the sides of the package which should be notched in a way that makes it easy to peel back the top without causing any damage to the Juicy hemp wraps. Grab it at one side and pull the tab towards the other to open the wrapper and expose the tightly wrapped paper.
Step 3 – Lay out all your tools
Pull out the wrap(s) and any tools that might be included in the pack. In some cases, filters and packing tools are added to make your job so much easier. Even if you don’t think you’ll need them, it’s best to lay them all out on your work surface so that they’re within reach just in case you’re wrong.
Step 4 – Grind some herb
Grind up as much flower as you’d like to put in the wrap while keeping in mind that these papers are much larger than your average ZigZag, which means that you’re going to need more to fill them. The average Juicy hemp wraps should comfortably hold anywhere from 2-7 grams, depending on thickness, with any more pushing its limits and any less making the whole endeavor rather impractical.
Step 5 – Fill the wrap
Hold the wrap so that it’s in a U shape and then use your fingers to pinch and drop the cannabis grind into it, building an even layer of grind all along the bottom. Keep going until you’ve added all you want to be included in the roll, and then move on to step 6.
Step 6 – Roll it tightly (but not too much)
Press the wrap together using both hands, thumbs and forefingers, slowly rolling it up and down ever so slightly to pack the herb and soften the paper enough to make it more malleable. Next, you’ll need to wrap the remaining bit around the roll until you get to the edge, which you will need to stick in place, as we show in step 7.
Step 7 – Use a small amount of moisture or concentrate to seal the deal
Juicy Jays blunt wraps don’t include the handy strip of glue you might expect from regular rolling papers, so you’ll have to be careful and creative to make one of these things stick. Licking it might work, or some prefer to add a few drops of fruit juice or blunt glue for extra assurity. It’s entirely up to you.
Step 8 – Pack it with the included stick
Now you’re ready to pack it all in, which will help to reduce the rate of burn, making a roll last for much longer while burning more evenly, and this is where that packing stick can really come in handy. Grab it and use a small amount of pressure to pack the grind into the depths of roll, making way for a filter or nothing at all.
Step 9 – Twist the tip
We’re almost there, so close you can almost taste it, but this final step can really help to ensure you don’t lose any of that fine grind in the process. Install the filter in one end, or leave it open, and twist the one you intend to light until it closes, sealing in all of that green.
Step 10 – Spark it up
It’s finally time to test your Juicy Jays blunt wraps, and with a quick light, it’ll all be up in smoke after a few long hauls of heavenly goodness.


